Basic CRUD application
While using Socket.IO (or plain WebSockets) for a basic CRUD application might sound a bit overkill, the ability to easily notify all users is really powerful.
In this guide we will create a basic CRUD (standing for Create/Read/Update/Delete) application, based on the awesome TodoMVC project:
We will cover the following topics:
Let's start!
Installation
The code can be found in the examples directory of the main repository:
git clone https://github.com/socketio/socket.io.git
cd socket.io/examples/basic-crud-application/
You should see two directories:
server/: the server implementationangular-client/: a client implementation based on Angular
Running the frontend
The project is a basic Angular application which was created with the Angular CLI.
To run it:
cd angular-client
npm install
npm start
Then if you open http://localhost:4200 in your browser, you should see:
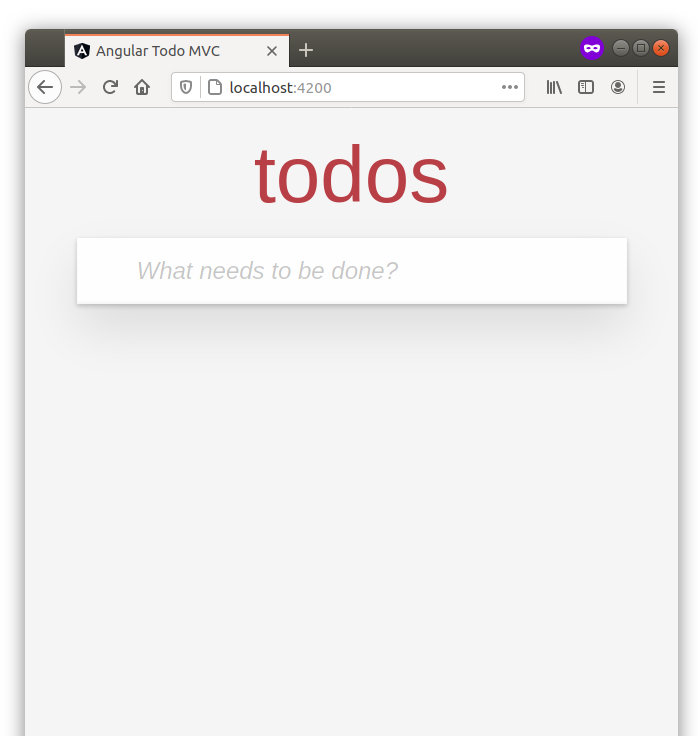
So far, so good.
Running the server
Let's focus on the server now:
cd ../server
npm install
npm start
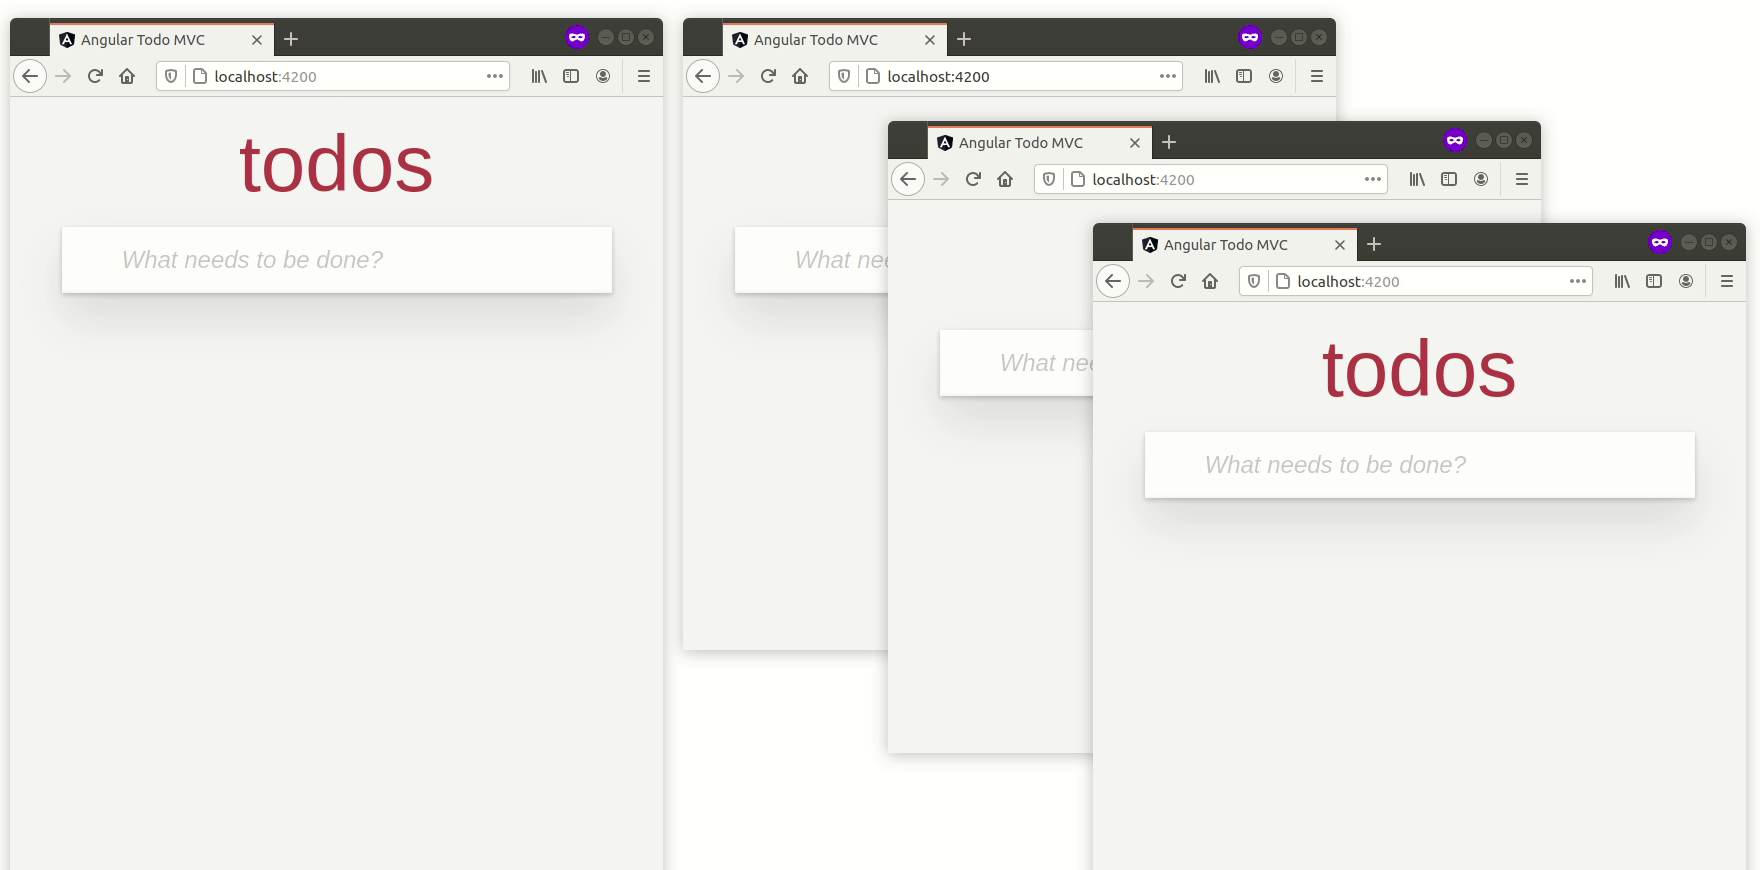
You can now open several tabs, and the list of todos should magically be synced between them:
How it works
Server structure
├── lib
│ ├── index.ts
│ ├── app.ts
│ ├── events.ts
│ ├── todo-management
│ │ ├── todo.handlers.ts
│ | └── todo.repository.ts
│ └── util.ts
├── package.json
├── test
│ └── todo-management
│   └── todo.tests.ts
└── tsconfig.json
Let's detail the duty of each file:
index.ts: the entrypoint of the server which creates the components and initializes the applicationapp.ts: the application itself, where the Socket.IO server is created, and the handlers are registeredevents.ts: the types of each event exchanged between the server and the client (this is the only file that is specific to TypeScript users)todo.handlers.ts: the handlers of the operations on the Todo entitiestodo.repository.ts: the repository for persisting/retrieving the Todo entities from the databaseutil.ts: some common utility methods that are used in the projecttodo.tests.ts: the integration tests
Initialization
First, let's focus on the createApplication method in the lib/app.ts file:
const io = new Server<ClientEvents, ServerEvents>(httpServer, serverOptions);
We create the Socket.IO server with the following options:
{
  cors: {
    origin: ["http://localhost:4200"]
  }
}
So the frontend application, which is served at http://localhost:4200, is allowed to connect.
Documentation:
The <ClientEvents, ServerEvents> part is specific to TypeScript users. It allows to explicitly specify the events that are exchanged between the server and the client, so you get autocompletion and type checking:

Back to our application! We then create our handlers by injecting the application components:
const {
    createTodo,
    readTodo,
    updateTodo,
    deleteTodo,
    listTodo,
} = createTodoHandlers(components);
And we register them:
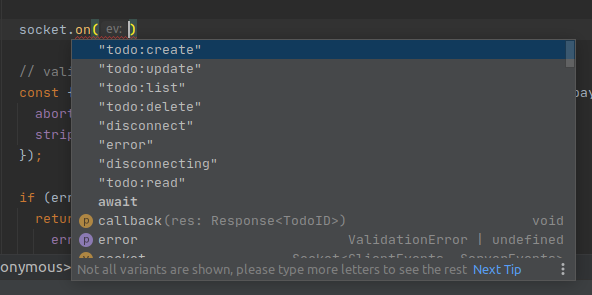
io.on("connection", (socket) => {
  socket.on("todo:create", createTodo);
  socket.on("todo:read", readTodo);
  socket.on("todo:update", updateTodo);
  socket.on("todo:delete", deleteTodo);
  socket.on("todo:list", listTodo);
});
Documentation: Listening to events
Note: the event suffixes (:create, :read, ...) replace the usual HTTP verbs in a REST API:
POST /todos=>todo:createGET /todos/:id=>todo:readPUT /todos/:id=>todo:update- ...
Event handler
Let's focus on the createTodo handler now, in the lib/todo-management/todo.handlers.ts file:
First, we retrieve the Socket instance:
createTodo: async function (
  payload: Todo,
  callback: (res: Response<TodoID>) => void
) {
  const socket: Socket<ClientEvents, ServerEvents> = this;
  // ...
}
Please note that using an arrow function (createTodo: async () => {}) wouldn't work here, since the this wouldn't point to the Socket instance.
Then, we validate the payload thanks to the great joi library:
const { error, value } = todoSchema.tailor("create").validate(payload, {
  abortEarly: false, // return all errors and not just the first one
  stripUnknown: true, // remove unknown attributes from the payload
});
Documentation: https://joi.dev/api/
If there are validation errors, we just call the acknowledgement callback and return:
if (error) {
  return callback({
    error: Errors.INVALID_PAYLOAD,
    errorDetails: error.details,
  });
}
And we handle the error on the client side:
// angular-client/src/app/store.ts

this.socket.emit("todo:create", { title, completed: false }, (res) => {
  if ("error" in res) {
    // handle the error
  } else {
    // success!
  }
});
Documentation: Acknowledgements
If the payload successfully matches the schema, we can generate a new ID and persist the entity:
value.id = uuid();

try {
  await todoRepository.save(value);
} catch (e) {
  return callback({
    error: sanitizeErrorMessage(e),
  });
}
If there is an unexpected error (for example, if the database is down), we call the acknowledgement callback with a generic error message (in order not to expose the internals of our application).
Else, we just call the callback with the new ID:
callback({
  data: value.id,
});
And finally (that's the magic part), we notify all the other users for the creation:
socket.broadcast.emit("todo:created", value);
Documentation: Broadcasting events
On the client-side, we register a handler for this event:
// angular-client/src/app/store.ts

this.socket.on("todo:created", (todo) => {
  this.todos.push(mapTodo(todo));
});
And voilà!
Tests
Since we are quite reasonable developers, we'll now add a few tests for our handler. Let's open the test/todo-management/todo.tests.ts file:
The application is created in the beforeEach hook:
beforeEach((done) => {
  const partialDone = createPartialDone(2, done);

  httpServer = createServer();
  todoRepository = new InMemoryTodoRepository();

  createApplication(httpServer, {
    todoRepository,
  });

  // ...
});
And we create two clients, one for sending the payload and the other for receiving the notifications:
httpServer.listen(() => {
  const port = (httpServer.address() as AddressInfo).port;
  socket = io(`http://localhost:${port}`);
  socket.on("connect", partialDone);

  otherSocket = io(`http://localhost:${port}`);
  otherSocket.on("connect", partialDone);
});
Important note: those two clients are explicitly disconnected in the afterEach hook, so they don't prevent the process from exiting.
Documentation: https://mochajs.org/#hooks
Our first test (the happy path) is quite straightforward:
describe("create todo", () => {
  it("should create a todo entity", (done) => {
    const partialDone = createPartialDone(2, done);

    // send the payload
    socket.emit(
      "todo:create",
      {
        title: "lorem ipsum",
        completed: false,
      },
      async (res) => {
        if ("error" in res) {
          return done(new Error("should not happen"));
        }
        expect(res.data).to.be.a("string");

        // check the entity stored in the database
        const storedEntity = await todoRepository.findById(res.data);
        expect(storedEntity).to.eql({
          id: res.data,
          title: "lorem ipsum",
          completed: false,
        });

        partialDone();
      }
    );

    // wait for the notification of the creation
    otherSocket.on("todo:created", (todo) => {
      expect(todo.id).to.be.a("string");
      expect(todo.title).to.eql("lorem ipsum");
      expect(todo.completed).to.eql(false);
      partialDone();
    });
  });
});
Let's test with an invalid payload too:
describe("create todo", () => {
  it("should fail with an invalid entity", (done) => {
    const incompleteTodo = {
      completed: "false",
      description: true,
    };

    socket.emit("todo:create", incompleteTodo, (res) => {
      if (!("error" in res)) {
        return done(new Error("should not happen"));
      }
      expect(res.error).to.eql("invalid payload");
      // check the details of the validation error
      expect(res.errorDetails).to.eql([
        {
          message: '"title" is required',
          path: ["title"],
          type: "any.required",
        },
      ]);
      done();
    });

    // no notification should be received
    otherSocket.on("todo:created", () => {
      done(new Error("should not happen"));
    });
  });
});
You can run the full test suite with npm test:
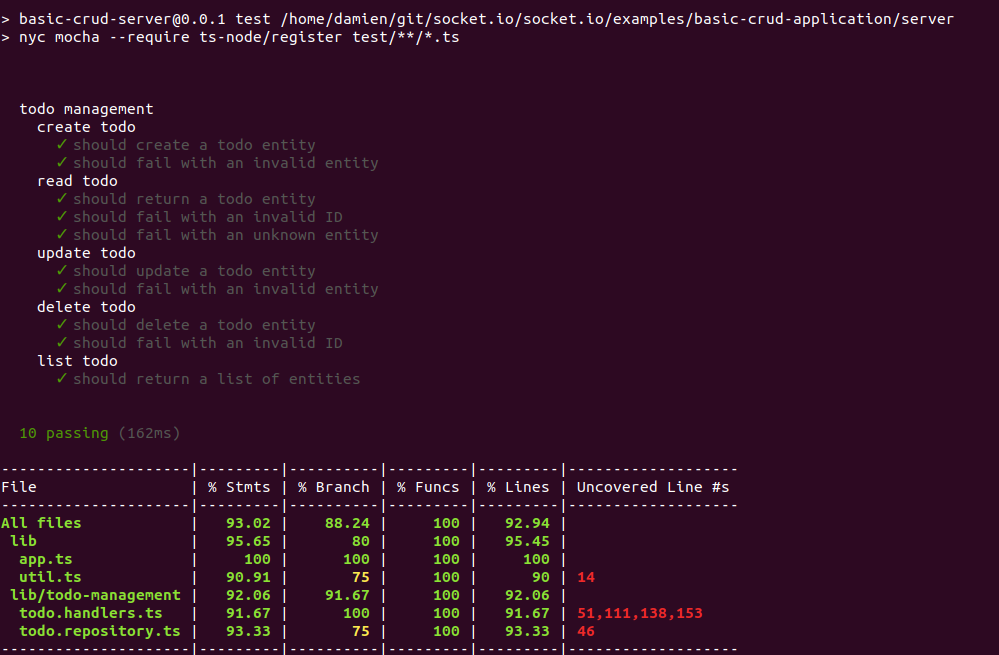
That's all folks! The other handlers are quite similar to the first one, and will not be detailed here.
Next steps
Thanks for reading!